Topsellers
 Pull-up Bars
 Training Equipment
 Resistance Bands
 Push-up Bars/Parallettes
 Other Equipment
 Sling Trainer
 Bundles
 Deals & B-Stock (%)
 Guides
![Handstand Push-Ups Auf Parallettes [How-To Guide]](http://www.pullup-dip.com/cdn/shop/articles/handstand-push-ups_6978b139-a181-4840-abbb-ddda96b9d822.jpg?v=1744811309&width=1500)
In this tutorial, I, Rick from calisthenics-101.co.uk, are going to show you how to achieve the handstand push-up on parallettes. As you may have guessed, the only piece of equipment you'll need for this is a pair of parallettes.
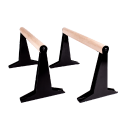
The parallettes used in the photos throughout this guide are PULLUP & DIP parallettes. I've also performed this skill when reviewing other brands of parallettes, so don't worry if you already own a different pair of parallettes.
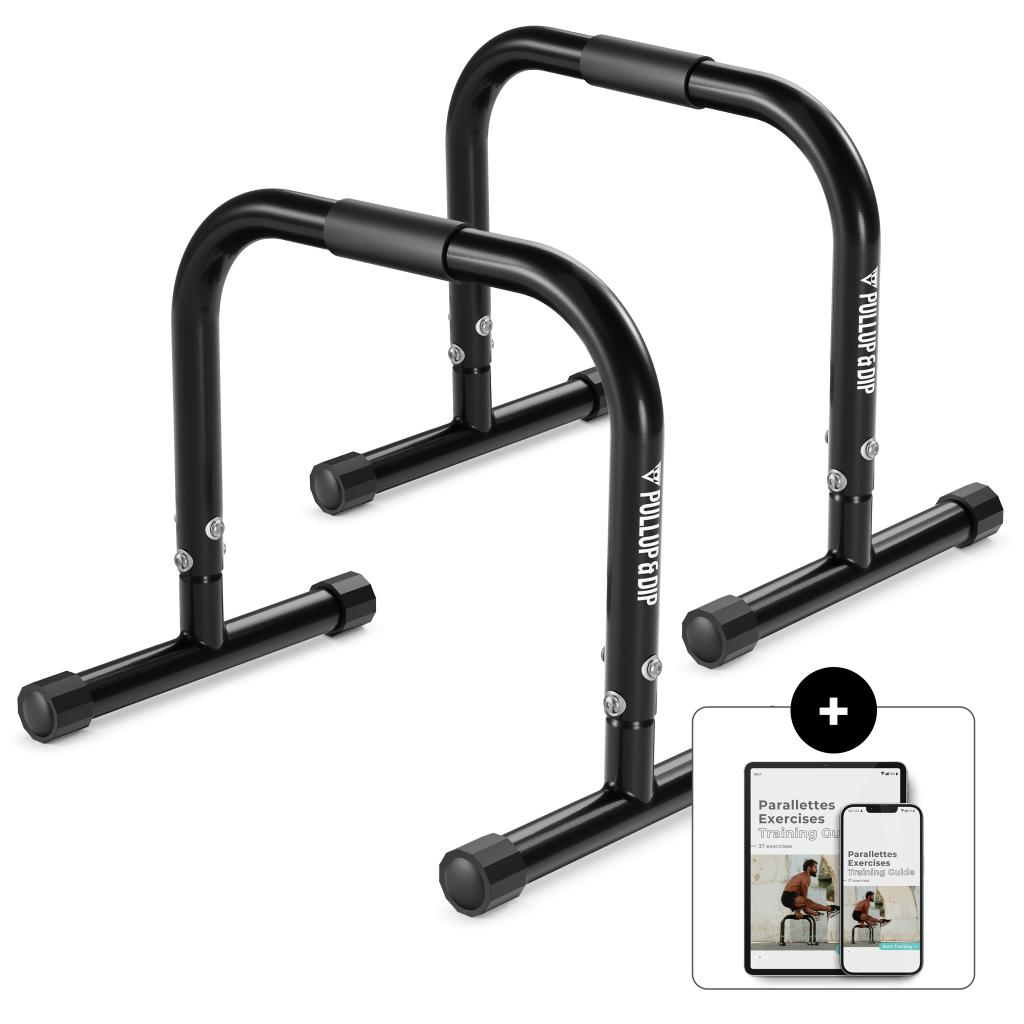
The only thing you should be concerned about is the height of the parallettes. Lower parallettes are better suited to beginner handstand practice, but you won't be able to perform a handstand push-up on any parallettes that are under 30cm high.
Pre-requisite Information (Please Read!)
The handstand push-up is a more advanced skill, but most people can achieve it if they follow the correct steps.
In this guide, I'll outline several progressions for you to work through so that those of any ability can find a progression that matches your current ability. By advancing through each progression, you will eventually be able to perform the handstand push-up!
Because this guide may not be suitable for complete beginners, I would recommend that you can complete the exercises below as a pre-requisite:
- Able to hold a handstand *
- 20 push-ups
- 10 dips
Note - A balanced handstand of at least 10 seconds will contribute to making this skill easier, but this isn't a necessity. If you aren't able to hold your handstand steady for more than a few seconds then don't be put off; you can still use the progressions to work on building shoulder strength while you improve your handstand time.
Essential tips to keep in mind with each exercise:
When working on any of the following progressions, it is crucial to remember that the handstand push-up becomes much harder once the elbow joint is past 90 degrees.
Position the parallettes at shoulder-width apart. A tip I use is to bend your arm at the elbow and outstretch your fingers, and then move the parallettes apart so that your arm sits snugly between them.
Handstand Push-up Progressions:
#1 Pike push-up


Although I recommend performing standard push-ups as a warm-up, the pike push-up gets your body into the shape where the push-up changes into a shoulder press. The pike push-up is the progression I recommend working on first. This exercise helps you focus on building strength in the shoulder muscles which are used for the handstand push up; however because your feet are supported, you are putting far less bodyweight into the exercise.
Another key benefit of the pike push-up is that you don't need to be able to hold a handstand, which makes this a great beginner progression to work on whilst you spend time improving your handstand! You should be able to complete a set of 5-8 reps of this exercise before moving on to the next progression.
Top tip: This exercise is also my favourite go-to warm-up exercise when attempting full handstand push-ups.
#2 'Pirouette' out of a parallette handstand
It is much harder to push up into the handstand if you aren't pushing your body vertically upwards. This most commonly happens when you lack confidence when balancing above the parallettes, and as a result, you naturally don't transition all your weight directly above you out of fear. When this happens, you end up trying to push your body up at an angle which is much harder to do.
If this sounds like you, or you're new to performing a handstand on a pair of parallettes, then learning to pirouette out of a handstand is the perfect progression for you and will help build your confidence when performing a handstand on the parallettes.
The pirouette refers to a method of dismounting from the handstand when you lose your balance in the wrong direction(s). If your balance falls back the way you came into the handstand, then you will simply land back on your feet, but obviously, if you lose your balance in any other direction, then you risk falling flat on the ground or injuring yourself.
Yuri Marmestein demonstrates the technique correctly in this video:
Important: You should practice 'pirouetting out of a handstand' in a place where you won't hurt yourself, such as an open grassy area.
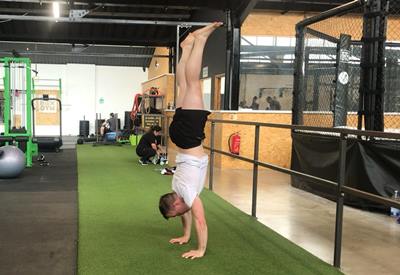
#3 Handstand push-ups (negative) against the wall


One of the best ways to train for strength gains in any exercise is to work on training negatives.Negatives refer to isolating the eccentric phase of the exercise, which in laymen terms is training the easier part of the repetition. For example, in a pull-up, this would be lowering yourself down from the bar, and in a push-up, this would be lowering yourself down towards the ground.
In this progression, a single rep consists of lowering yourself from a straight arm handstand until your elbows are at 90 degrees. The lowering movement should be slow and controlled, if possible. You only want to focus on the lowering movement in this progression, so don't try and push yourself back up into the handstand. After each complete rep, you can lower your legs to the floor, compose yourself, and then get back into the starting handstand position however you wish.
I have demonstrated doing this against a wall in the above photos. The wall is used to remove the balancing aspect and ensure that this progression focuses entirely on strength.
Check out our Parallettes here!
{article numbers="<P-00501>"}
#4 Push-up from Frog Stand
I mentioned at the start of the guide that the handstand push-up is much harder when the elbows go past 90 degrees. This problem can be hard to avoid when you are building up strength and will happen if you push yourself through the progressions too quickly. A straightforward technique you can use to restrict your elbow contraction when practising the handstand-push is to start from a Frog Stand position.
The Frog Stand is a familiar yoga pose. For those unfamiliar, this position consists of balancing on your hands with your knees placed on the back of your elbows. This exercise can be completed on the floor without the use of parallettes.

(Sidenote: Those with excellent straight-arm strength may wish to practice resting their knees higher up the back of their arms, so they sit closer to the armpit).
When first practising this movement, you can try kicking-up into the handstand to make the pushing part easier. As you get stronger, the goal is to remove any momentum and be able to push yourself upwards in a slow and controlled manner.
With enough practice, your goal should be to eventually perform multiple reps of the handstand push-up from Frog Stand, with only your hands touching the floor throughout the repetitions.
#5 Handstand push-up
If you can perform all of the previous progressions comfortably, then the full parallette handstand push-up should be within reach! The only thing that should be different about this exercise to the previous progressions is your starting position. I find the best starting position is from an L-Sit hold, as from here, you can get a little bit of momentum when bringing your feet backwards and rolling up onto your shoulders, which should help with the push.
This rolling motion (or momentum) should help you get into a position where your weight is directly above your shoulders before pushing up. From here you are pushing your body directly upwards, without letting your elbows contract more than 90-degrees at any point.
If you find you are struggling, you may wish to get a friend to spot you by putting their hands under your hips and giving you an extra push upwards.


The handstand push-up is a high strength skill, so you only want to be training for 1-3 reps at a time. Because the focus of this skill is pushing up, you don't need to worry about chaining the reps together in a fluid up-down motion. You can pirouette out of the handstand and return to the starting position between each rep. When you feel you can push-up into the handstand cleanly, try and slowly lower yourself back down to the starting position to chain reps together.
Finding the handstand push-up too easy? You can take it to the next level by:
- Trying the handstand push-up while wearing a weighted vest
- Trying to lower yourself down further at the bottom of each rep - if you can get your shoulders below the parallette grips then you certainly are a master!
Handstand Tips
I won't go into great detail here as there are many other excellent handstand resources online, but here are a few of my own handstand tips for beginners:
#1 Thoroughly warm-up your wrists and neck
These are two areas that I see people neglect the most and ones which I've had the most frustrating pains in before. Take some time to stretch the neck and wrist joints until you feel supple.
#2 Focus on getting your shoulders open and arms pointing directly above
When holding a handstand, many beginners will have a large curving arch in their posture from their shoulders down to their feet. This curvature is known as 'banana back', and balancing is much harder when your body is in position. This extenuated curve is caused by the lack of flexibility in the shoulder joint. Because the shoulders aren't fully open, the hips don't sit correctly over the centre of gravity, and the back is arched to counterbalance the poor posture.
If this sounds like you, then your primary focus should be to work on 'opening up' up the shoulder joint. This can be achieved by raising your arms above your head from a standing position, and then pulling your arms back, so they point directly upwards inline with your spine. This straight-line position is what you want to achieve when in a handstand. Most people's shoulder joints don't transition to this position comfortably, so the only way to achieve this is by working on regular stretching exercises.
#3 Don't neglect the position of your legs
There are two common leg positions when performing a handstand; straddled legs, or legs pointing straight and touching. My personal preference is straddled legs, but I recommend trying both methods and seeing which works for you.
The advantage of using straddles legs is that your centre of balance is lower to the ground, which makes balancing a little easier. The disadvantage with straddles legs is that each leg will move in isolation, which means you're more likely to be unbalanced by unsymmetrical leg positioning. If you do prefer using a straight leg posture, make sure you focus on keeping your big toes touching each other at all times. This tip will ensure your legs act in unison.
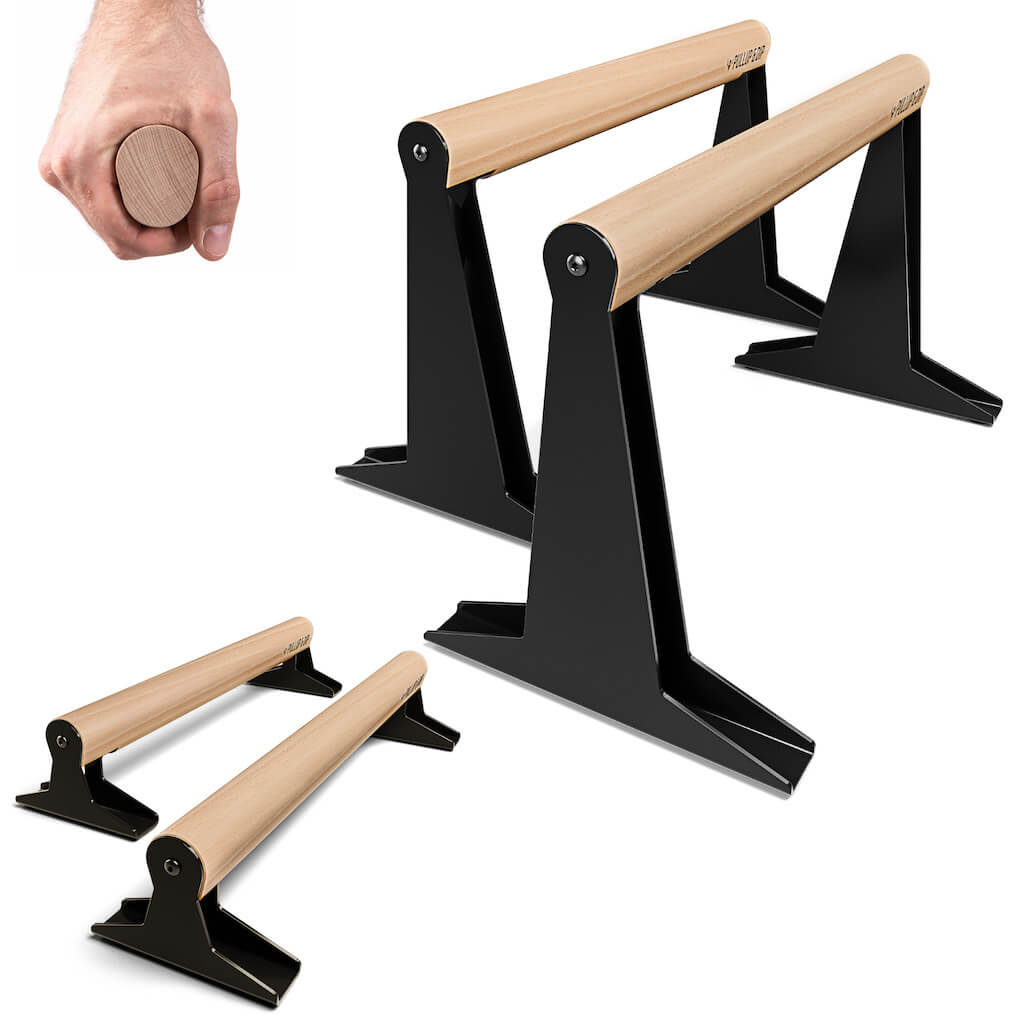
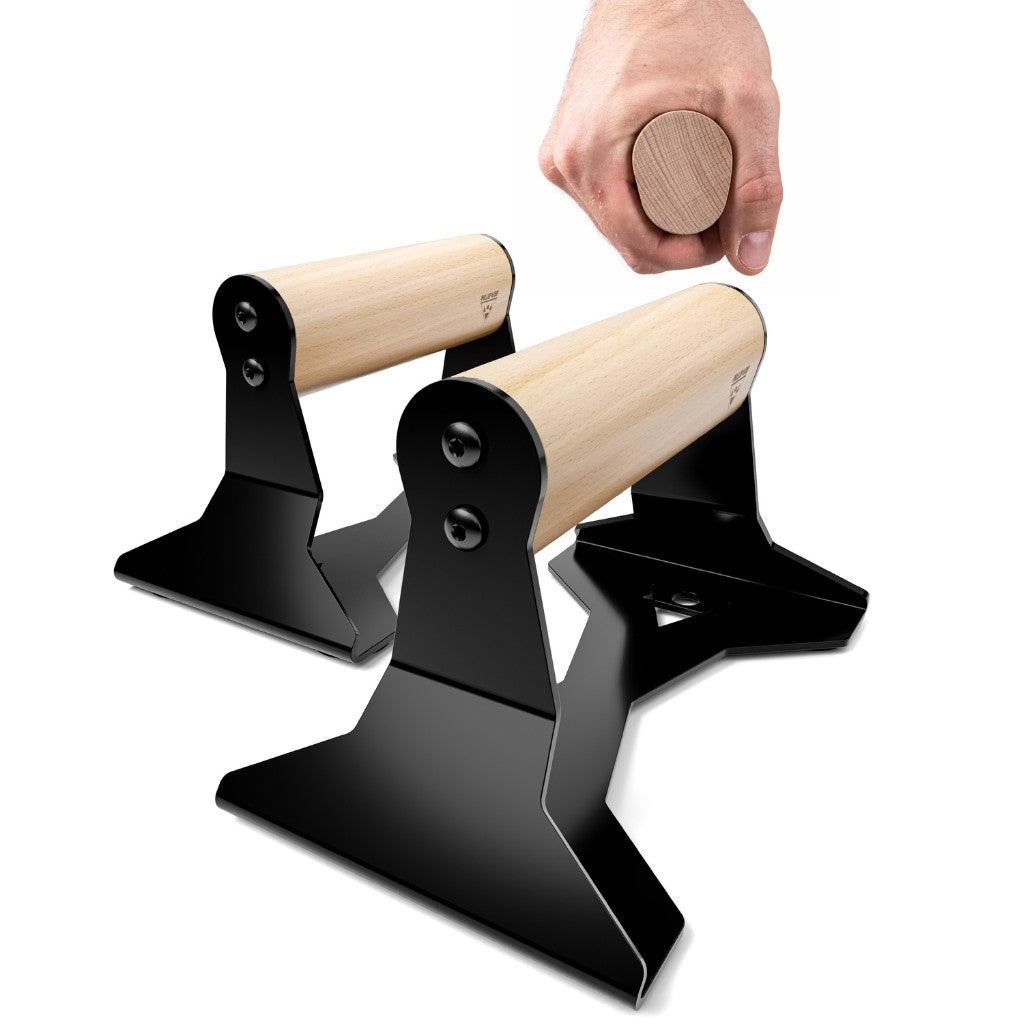
Are you looking for some parallettes to train handstand push-ups and other exercises? We at Pullup & Dip offer you various high quality parallettes for indoors & outdoors. Check them out now!

Recommended articles
Top 8 Handstand Benefits – Why You Should Do Them Daily
Push Up Bars – the main advantages of push-up bars and top exercises