Topsellers
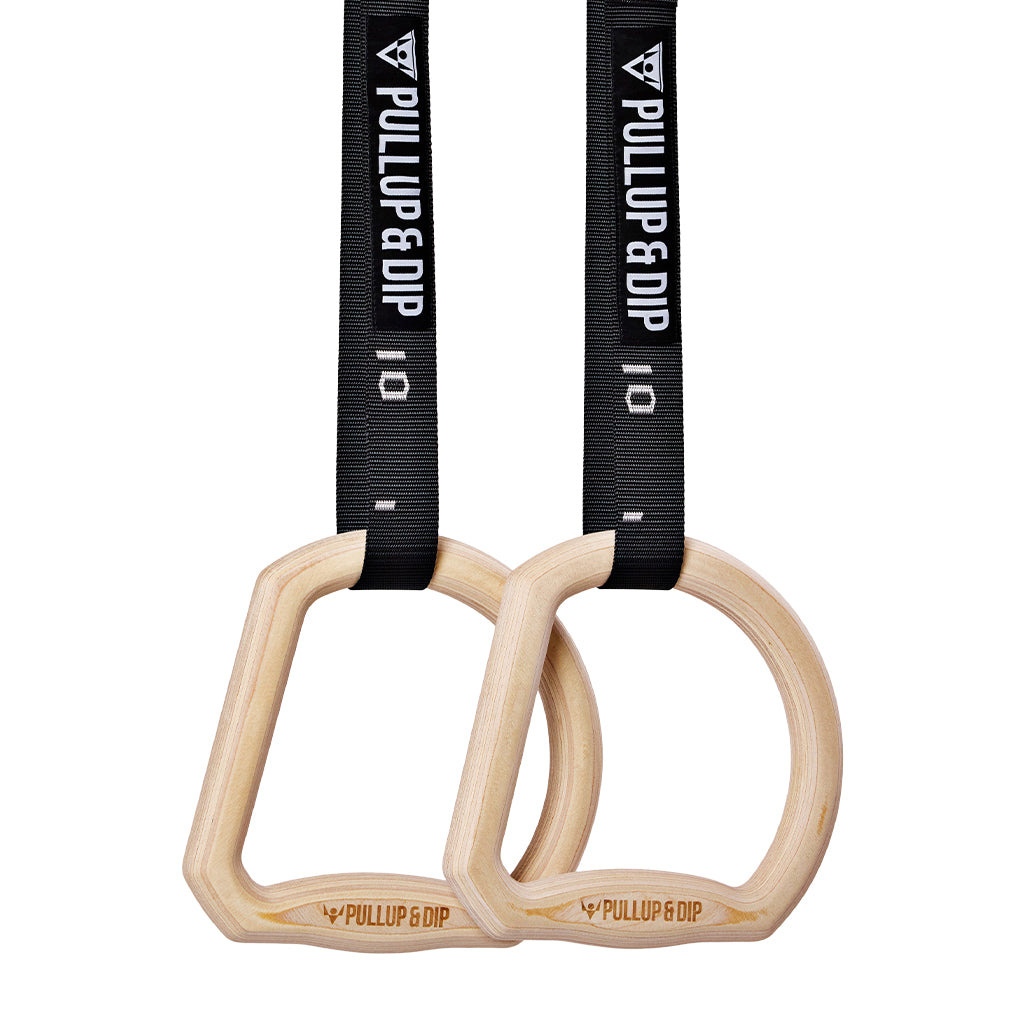
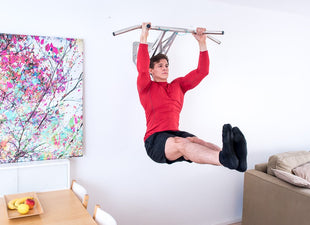
 Pull-up Bars
 Training Equipment
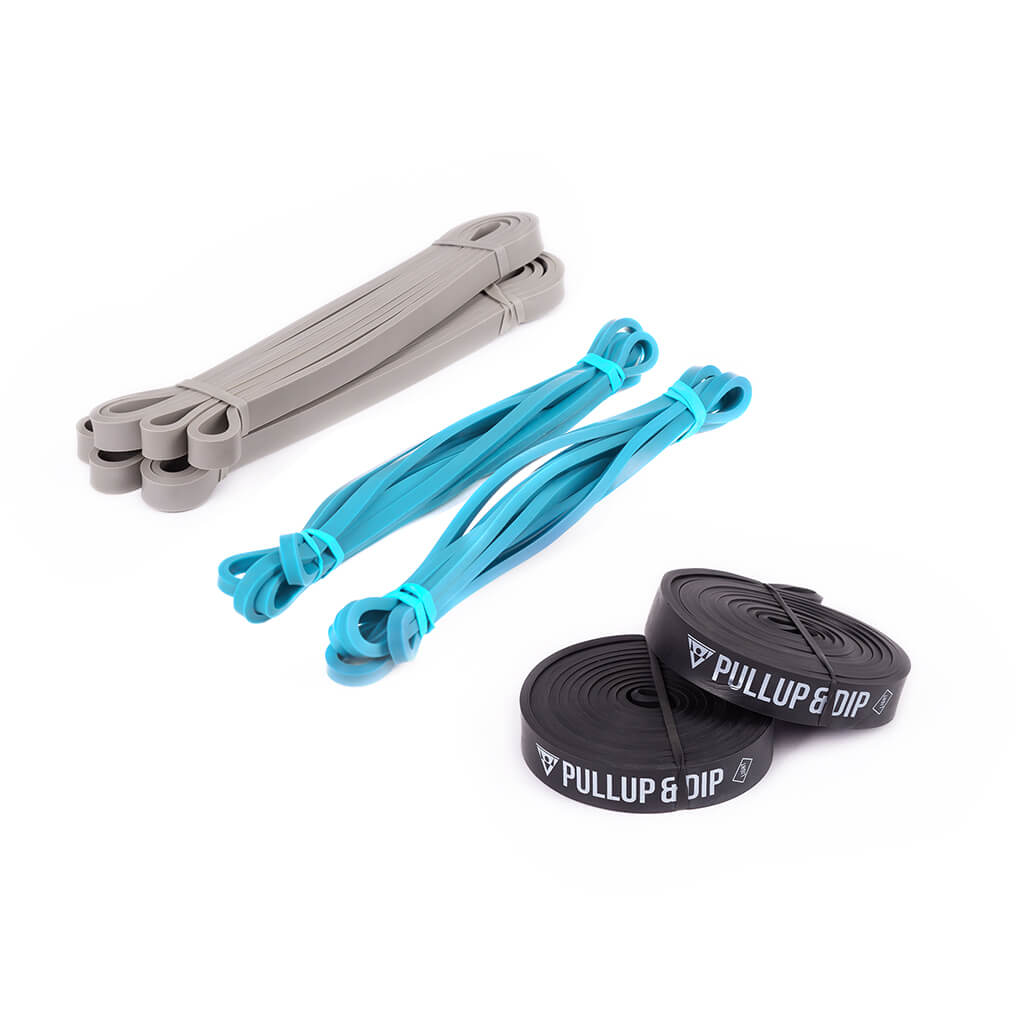
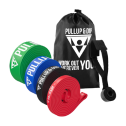
 Resistance Bands
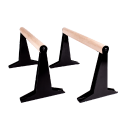
 Push-up Bars/Parallettes
 Other Equipment
 Sling Trainer
 Bundles
 Deals & B-Stock (%)
 Guides
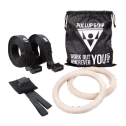


FREESIXD is a sling trainer, resistance band and training bar all rolled into one. With the help of the adjustable buckle, exercises can be performed from different heights in different degrees of difficulty.
Suspension trainer installation is possible in three variants
- Indoor: Wall: Mounting only on brick or concrete walls, mounting on stud wall only possible with additional plate!
- Indoor: Door: no mounting on glass doors! Check door for stability before mounting!
- Outdoor: no mounting on electricity pylons
Note: for even more detailed information on assembling your FREESIXD, please read the instructions that came with the device.
[product="X-06010-WALL-DOOR"]
1) Indoor: Wall
Step 1: Material required for suspension trainer installation on the wall
- 2 x wall adapters
- 8x screws
- 8x dowels
- 8x washers
- 8x caps whit
Additional:
- Spirit level + pencil
- Drill (5 mm pre-drill- 12 mm final diameter)
- Ratchet with 13mm socket/ nut
- Hammer
- Vacuum cleaner
Step 2:
Hold the wall adapter at the upper attachment point against the wall and align it straight with the spirit level. Depending on the height of body and ceiling, the upper attachment point can be varied. Use a pencil to make marks for drill.
Step 3:
After setting the marks on the wall, remove the wall adapter and pre-drill all four holes on the mark with the 5 mm drill. Then drill the holes to the final diameter with the 12 mm drill bit. The drilling depth should be at least 90 mm. Vacuum out the holes well with a vacuum cleaner or blow them out with a blower.
Step 4:
Carefully tap the dowels into the drill holes with a hammer and place the wall adapter on the wall. Then insert the screws and tighten them with the ratchet.
Step 5:
Place the four caps on the screw heads.
Step 6:
Hook the Superbelt into the anchorage of the adapter from the front. Guide the Superbelt downwards and hook it into the lower wall adapter. For straight alignment of the lower wall adapter, place the spirit level on the Superbelt.
Step 7:
To attach the lower wall adapter, follow steps 1-5.
2) Indoor: Door
Step 1: Material required for suspension trainer installation on the door:
- Strap
- Door anchors
Step 2:
Connect the hooking system of the belt with the loop of the door anchor.
Step 3:
Hook the Superbelt into the anchorage of the door anchor.
Step 4:
Place the hooked-in combination centrally over the open door. The door system with foam protection should face the opening side of the door.
Step 5:
Hook the Superbelt into the loop of the door anchor at the bottom and pull it under the open door. Slightly tighten the grey strap and bring it to tension. Under no circumstances should this be done with force or with too firm, abrupt movements.
Step 6:
Tighten the Superbelt, fasten the end of the strap with Velcro, close the door.
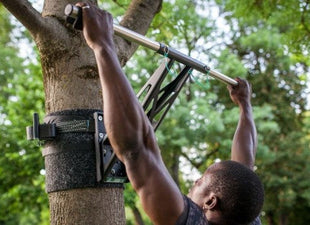
3) Mounting Outdoor
Step 1: Material required for suspension trainer installation outdoor:
- 2 Outdoor Adapters
- 2 Tension straps
Step 2:
Thread the tensioning strap into Outdoor Adapter: from the outside to the inside and again from the inside to the outside. Note that the tensioning strap must be threaded in such a way that the open ratchet with the flat actuator points downwards.
Step 3:
Place the strap around the tree/pole and insert it into the open ratchet at the desired height at the top and tighten.
Step 4:
Carry out the same procedure for the lower attachment point. Make sure that both adapters are placed in line vertically.
Step 5:
Hook the Superbelt into the Outdoor Adapters at the top and bottom.
Step 6:
Tighten the Superbelt and fasten the strap end with the Velcro.
As you can see, you have many options for assembling your FREESIXD and you can train flexibly anywhere.
Order your FREESIXD now for home, on the go or outdoor.