
The push-up is one of the best deadlift exercises for building chest, shoulder and triceps muscles. Numerous more complicated dead weight exercises and calisthenics exercises build on the push-up. In the military, recruits are drilled with push-ups. Various chest exercises in the gym are based on the idea of the push-up.
This powerful exercise, the push-up, can be performed in many other push-up variations in addition to standard variation (classic push-up). Of these variations, we have collected the 10 most effective variations for you and explain them in more detail in this blog post. If you do the exercises regularly and perform several sets of 8-12 repetitions each, you will quickly build strength that will allow you to move from the easier push-up variations to the more challenging ones.
Note: If you have little training experience, it’s worth reading the entire blog post. If you’re more experienced, feel free to skip the majority of the blog post and go straight to the heavy push-up variations.
First, a little “family tree”: get to know the standard push-up and all of its descendants!
The performance of the standard push-up forms the basis for other push-up variations. But what are these variations? Imagine it as kind of a family tree…
The push-ups variants and their usefulness
- In the genealogy of push-ups, let’s assume that the standard push-up is the mother of all push-up variations and that there are several children.
- Some of these children could not cope with the demands of the mother and have made it easier for themselves: these are simple push-up variations for beginners such as the Wall push-up and Knee push-up. They are strongly oriented to the standard push-up in terms of exercise performance and train the same muscles to a lesser extent.
- Then there are the kids who particularly wanted to impress their parents and are not for beginners: These include, for example, the Weighted push-up with extra weights and the Handstand push-up. They train the same muscles as the standard push-up, but to a much greater extent. Some of them even have a completely new focus, such as the Handstand push-up, which is mainly used to train the shoulder muscles.
According to your training experience and physical abilities, you can choose the exercises that suit your needs.
The trained muscles
In all variations, as in the standard push-up, the chest, shoulder and triceps muscles are trained. The abdominal and back muscles are also required to a lesser extent, because tension in these muscle groups stabilizes your body core so that your exercise execution is thorough. In this way you achieve the desired training effect and save yourself back pain or similar “aches and pain”.

Correct execution / The correct technique in the standard push-up
- Take a quadruped stance.
- Your arms are straight, with your hands placed on the floor at chest level, shoulder width apart.
- Move your feet backwards until your legs are fully extended and your body – from head to feet – forms a straight line.
- In the starting position for the push-up, you have your upper body lifted off the floor and your upper body is supported by your outstretched arms. The entire body is straight with your legs close together and you are supported with the tips of your toes.
- Now lower yourself down in a controlled manner by bending your arms and bringing yours elbows close to your torso.
- You do this until your nose is just above the floor. Hold this low position briefly before moving up again.
- In the top position, you should never fully extend your arms while performing the exercise. Your entire body should always form a straight line.
10 push-up variations at a glance (including instructions)
The push-up variations described below are organized in such a way that they are arranged chronologically from easiest to most difficult. Thereby, the easy and moderate variants are suitable for beginners, people with severe overweight and people with little strength. The heavy push-up variations are intended for advanced users.
- When beginners practice an easy push-up variation like the Incline push-up for a week, they gain a feel for the technique. Correct implementation of the technique is essential for long-term health and successful training with the more challenging push-up variations.
- Overweight people and people with little strength create the physical prerequisite to be able to perform the more complicated variations later on by training with the simple push-up variations for a few weeks first.
- For people with training experience who can do the standard push-ups in 3 sets of 20-30 repetitions each, the heavy push-up variations are an important option. The heavy push-up variations increase the intensity of the workout, which is often a more efficient means that increasing the number of repetitions. This is how experienced people make their workouts more challenging, but keep them efficient.
Simple variants: Wall push-up, Knee push-up, Incline push-up
1. Wall push-up

- Stand in front of a wall at a distance of an arm’s length.
- Your feet point straight to the wall and stand close to each other.
- Now stretch out your arms. Place your hands flat against the wall at chest height and slightly wider than shoulder width.
- You lower yourself with a completely straight body directly toward the wall. You work from the strength of your arms.
- Just before you reach the wall, stay in position for a second before using the strength of your arms to push yourself back to the starting position.
2. Knee Push-up

- Unlike the standard push-up, the knees, rather than the feet, remain planted on the floor.
- You do this by assuming a quadruped stance and moving forward with your arms so that your torso forms a straight line across your thighs to your knees.
- Raise your calves off the floor and keep them raised during the exercise.
- Now lower yourself towards the floor from the strength of your arms, hold the position and push yourself back up.
- Because the main load of your body is on your knees, you will find the exercise easier to perform than standard push-ups.
3. Incline Push-up

- Find a bench box, or other stable elevation where you can rest your hands at shoulder width.
- You get into the push-up starting position, placing your hands on the elevation rather than on the floor.
- Your hands at chest level as well as shoulder width, your body straight through and tense, you can now slowly lower yourself from the strength of your arms.
- You push yourself back up after holding the lowest point for a while.
- The increase lowers the load on your upper body muscles and the push-ups are easier the in the original version.
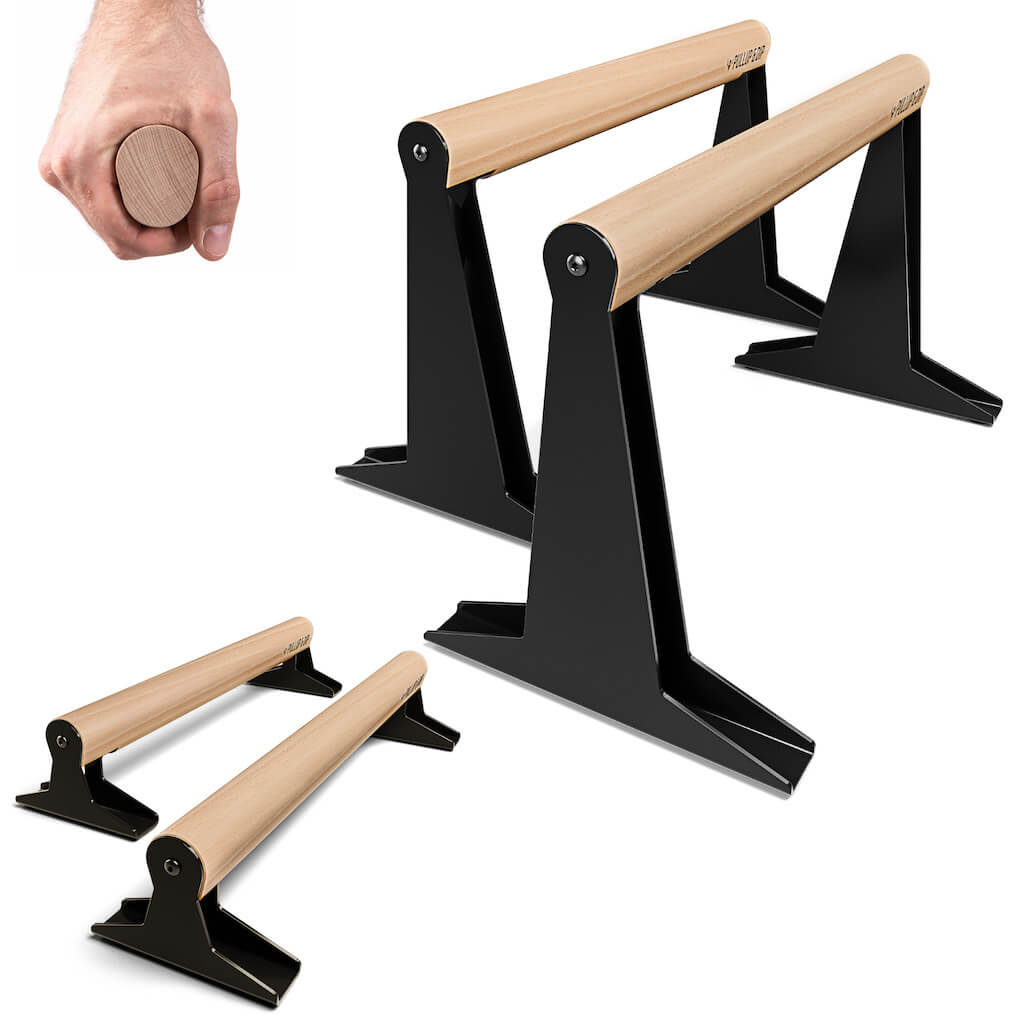
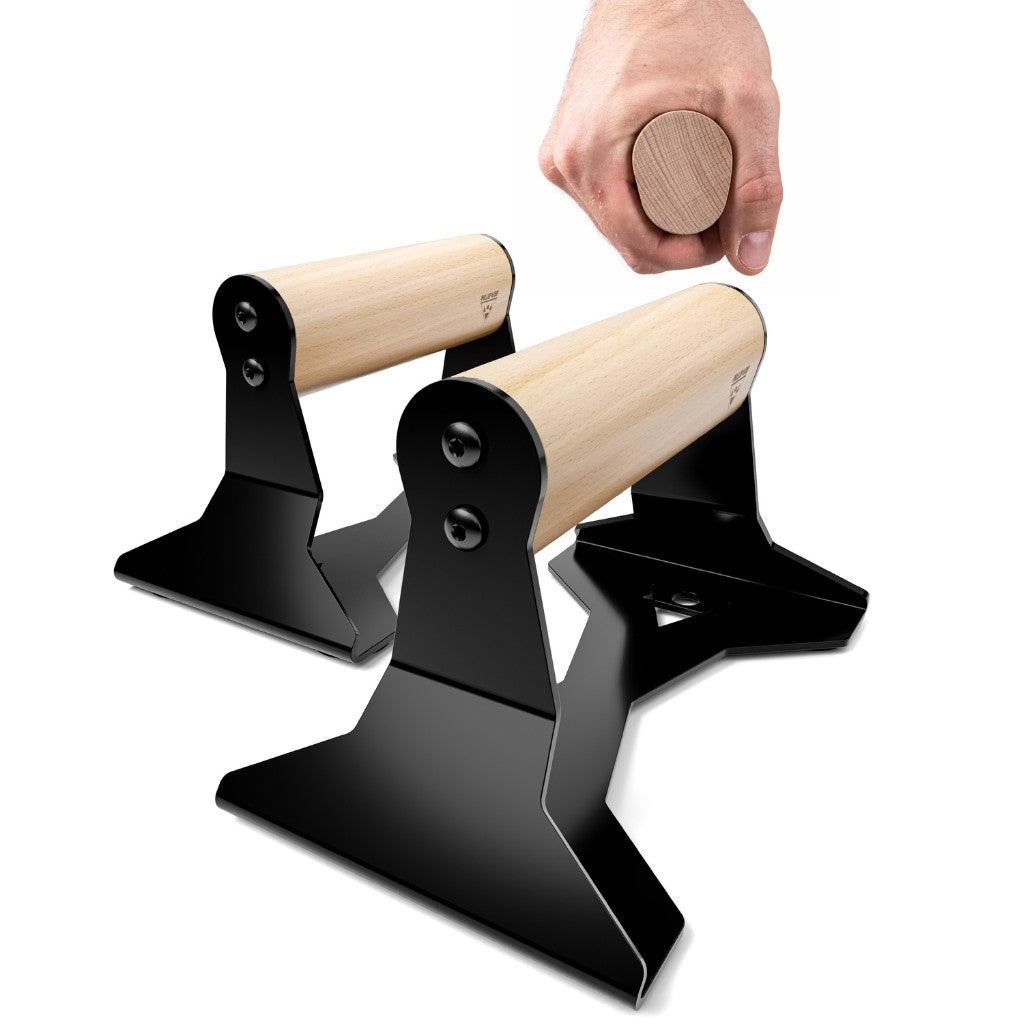
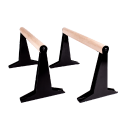
Note: Also suitable for professionals! If you use parallettes or push-up bars for the Incline push-up, you also increase the stretching during the execution of the exercise through elevation; Meaning: You can achieve a particularly deep end position during the exercise when using special push-up bars, unlike when using a bench as an elevation. This end position increases the range of motion, which makes the workout more demanding and efficient. The push-up bars are a generally useful purchase: beginners can use them to practice the Incline push-up and later increase the intensity by training with a deeper end position. Thus, the push-up bars are an all-time useful training equipment.
Learn more about our Parallettes here:
[product="P-00501"]
Medium-difficulty variants: Comandos, Mountain, Climber with push-up, push-up Jack
4. Comandos
- The comandos start in forearm support: you have a starting position like the standard push-up, with the difference that you support your upper body on your forearms and your elbows are at a 90-degree angle.
- Now, as part of the exercise execution, place the left hand on the floor slightly outside the shoulder line and at chest level.
- With your right hand you now pull so that you have the starting position for a push-up.
Now repeat the exercise backwards until you are back in forearm support. You do this change of positions several times
5. Mountain Climber with push-up

- Start in the push-up position.
- You pull your left leg up in this position, with the knee towards your chest. Then you move the left leg back and do the same with the right leg.
- Now do a push-up before alternating legs to chest again.
- Pulling the legs to the chest is the Mountain Climber, an effective exercise for the abdominal muscles.
- By combing the Mountain Climber with the standard push-up, you increase the difficulty of the workout because you get the abdominal muscles more involved in the workout.
6. Push-up Jack
- First, you do a push-up.
- Before you do the next push-up, jump with your legs apart: to do this, push off the ground explosively with your legs and move them apart until they are much wider than hip-width apart.
- Next, push your legs back off the ground and jump with them so they are close together and you find yourself in the starting position for the push-up.
- Now do another push-up and repeat the whole procedure several times.
Heavy variations: Weighted push-up, Single Leg push-up, Pike push-up, Handstand push-up
7. Weighted push-up

- The Weighted push-upcis a standard push-up with added weight.
- You put on the extra weight, take the starting position for the push-up and repeat the exercise several times.
- When choosing the weight, you can use equipment (e.g. weight discs on the back, special vests with weights) or use your creativity (e.g. have people apply pressure, fill a backpack and use it as a load).
- Make sure that the additional weight is placed as far up as possible and not at the bottom of the back. At the bottom of the back, the risk of an unstable body core and the risk of injury would be great.
8. Single leg push-up

- The Single Leg push-up is like the standard push-up except that you lift one leg off the ground and consequently support yourself with only one other leg.
- The leg lifted from the floor is best extended straight and directed upwards.
- With the required tension in the leg and body core, you will give your leg and abdominal muscles, as well as your lower back muscles, a good workout.
- It is better to alternate legs after each set so that each leg is lifted the same number of times. This is the only way to give your body a balanced workout.
9. Pike push-up

- It is better to take a starting position like the classic push-up and from there move your hips upwards so that your body forms an inverted V.
- The top of the inverted V is your hip, running sideways from it are your straight outstretched legs and straight outstretched torso.
- The arms are positioned next to the head as an extension of the straight torso.
- Now lower your head towards the floor, hold the lowest position and move back from the pressure of your arms. By doing this exercise you increase the load on your shoulder muscles.
Tip: You can use our Ab-Roller super for building exercises! When doing ab exercises with the Ab-Roller, you move in a similar way to the Pike push-ups and strengthen your shoulder muscles optimally in preparation. If you have mastered the Pike push-up, you can also use our already mentioned push-up bars to increase the range of motion and thus the degree of difficulty when doing the exercise.
To our Ab Roller!
[product="P-01050"]
10. Handstand push-up

- You perform a handstand. If you are not yet able to do this, practice the handstand first or lean against a wall while you do the exercise.
- For the handstand, bend forward with and support yourself with your hands on the floor.
- Now shift your body weight forward and swing one leg up. You quickly pull the other leg and the rest of the body.
- By holding the tension, you stay on your hands.
- While in the handstand position, use the strength of your arms to lower your head to just above the floor and then push yourself up. This is how the handstand push-up works.
- The increase the range of motion, you can also use the push-up bars from us. Especially for the Handstand push-ups, the use of push-up bars is recommended due to the generally small range of motion, because these ensure not only the protection of the wrists, but also a greater range of motion and a higher training effect. See also our article on the advantages of push-up bars.
To our push-up bars!
Conclusion
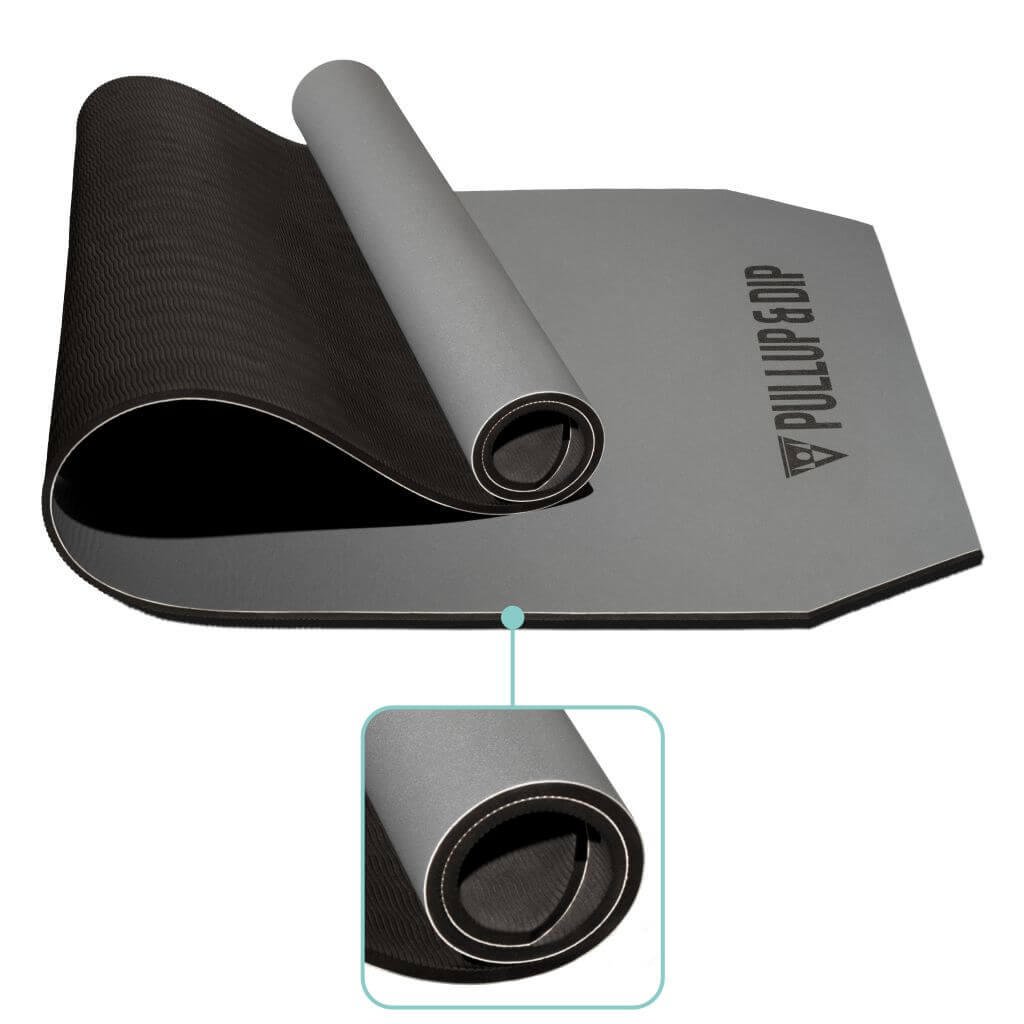
Beginners without experience and people with little strength or people who are severely overweight, are best to try the simple push-up variations. The fitness mat and the push-up bars from Pullpup & Dip are worthwhile as equipment. With regular training, the moderately difficult push-up variations should be doable without any problems after a few weeks or months – congratulations, keep at it! With all that said, the fitness mat and push-up bars are useful as durable equipment; especially since the grips are also great for performing dips.
For the heavy push-up variations, you should be able to repeat the classic push-up in three sets of 20-30 times each. Then you can use the heavy variations to focus on new muscle training or, if you think about the Handstand push-up, to practice some completely “extreme” things.
The correct technique, a clean execution of the exercises and ample rest days between training sessions remain indispensable basics for all push-up variations and all exercisers to be efficient in the long term and to achieve progress quickly.
Recommended articles:
Pull-up bar exercises with the Pullup & Dip bar for beginners & pros
Buy a pull-up bar for the door, ceiling, or wall? Advantages and disadvantages