Calisthenics skills are skills that help you perform each calisthenics exercise with precision. By training your calisthenics skills, you lay the foundation for faster and better progress - whether it's progress in muscle building, diet, balance, coordination, or calisthenics in general.
In calisthenics, you train with your own body weight. Depending on the type of exercise, you either challenge individual muscle groups or all muscle groups of the body in combination. The different levels of difficulty of the calisthenics exercises give you the opportunity to increase the intensity of the training at any time without having to resort to equipment or weights.
In this article we present you 10 exercises with which you can build up and expand your calisthenics skills. The first 5 exercises are designed for beginners and returners. They are basic calisthenics skills that you should master perfectly in order to move on to the 5 advanced exercises that follow.
Intermediate: 5 Calisthenics Exercises for Beginners and Returners
Our 5 intermediate exercises, which include pull-ups and push-ups, help you internalize basic movement patterns. Many calisthenics exercises build on these movements. Many advanced exercises are variations or intensifications of our 5 intermediate exercises.
So try the following exercises to learn the basics of calisthenics skills!
1. L-Sit

With the L-Sit you lay the foundation for good body tension and solid support in your arms. You will strengthen your abdominal muscles and triceps in particular. This is how the L-Sit works:
- Sit on the floor and stretch your legs straight out. Your legs are close together and you keep your upper body straight.
- Your torso and straight outstretched legs form an L when looking at you from the side. Your arms run down the sides of your torso.
- Now tense all the muscles of your body from the torso down and begin to push yourself up slowly and in a controlled manner using the strength of your upper arms.
- While you push yourself up, your hands lie flat on the floor. You push up from the floor as far as you can and hold the upper position for a few seconds.
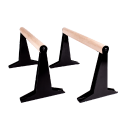
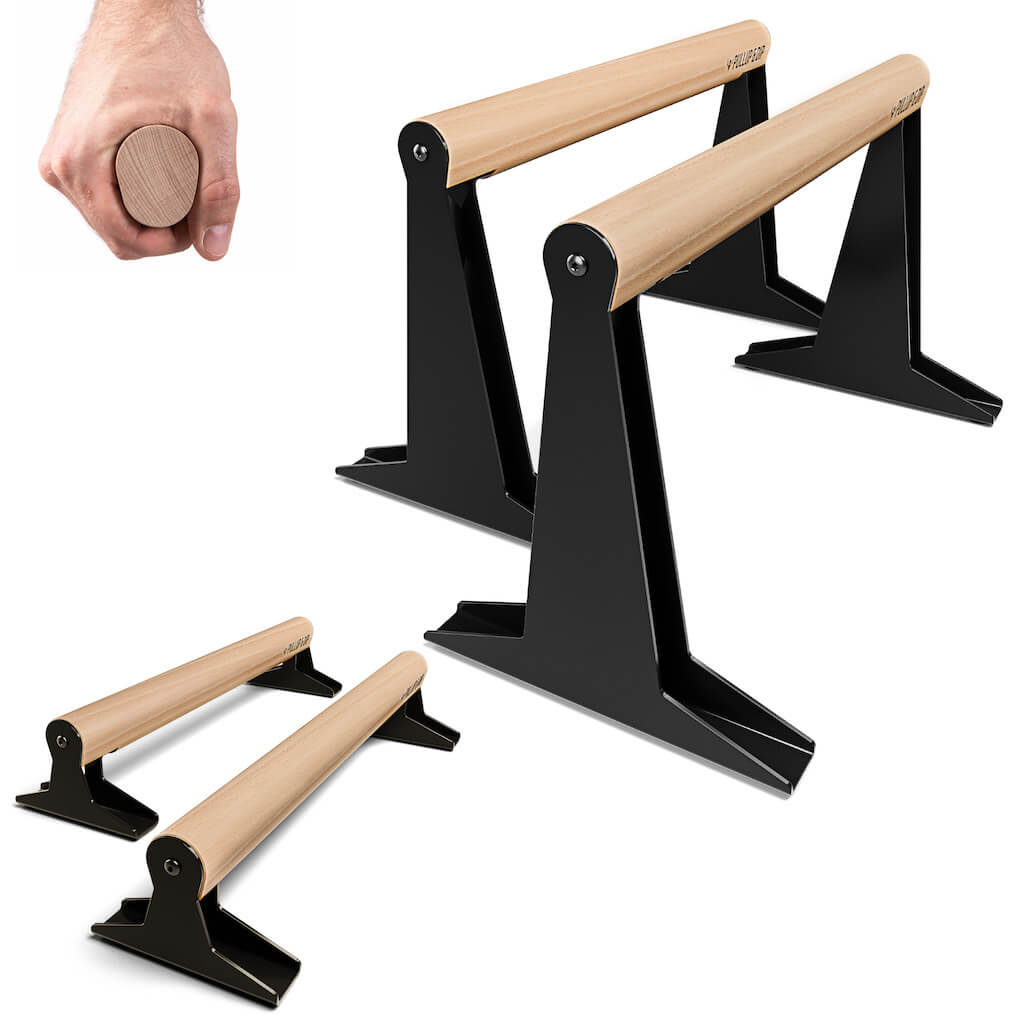
To make the exercise easier for you and also to have a good equipment to train your further calisthenics skills, we recommend you our high quality wooden parallettes with ergonomic wooden handle. With your hands firmly grasping the two parallettes, you can push yourself up even further during the L-Sit.
2. pull-ups

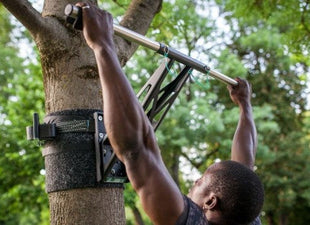
With the pull-ups we now turn to THE back exercise par excellence! There is hardly any other deadlift exercise that trains the upper back muscles, the neck and the biceps better than pull-ups. Without mastering pull-ups, it's impossible to gain the calisthenics skills necessary for advanced exercises. Here's how you perform the exercise:
- You hang from a pull-up bar and grasp it in an overhand grip. The upper grip means that the back of your hand is facing you.
- In principle, it doesn't matter how wide your grip is. If your hands are wider than shoulder width, you will train your back best.
- Now pull yourself upwards - preferably for 1-2 seconds. Tense your body and keep it straight without swinging.
- The highest point is reached as soon as your chin is at the height of the pull-up bar. Now slowly lower yourself down in a controlled manner.
- Always make sure that the movement is controlled and that you only use the strength of your arms.
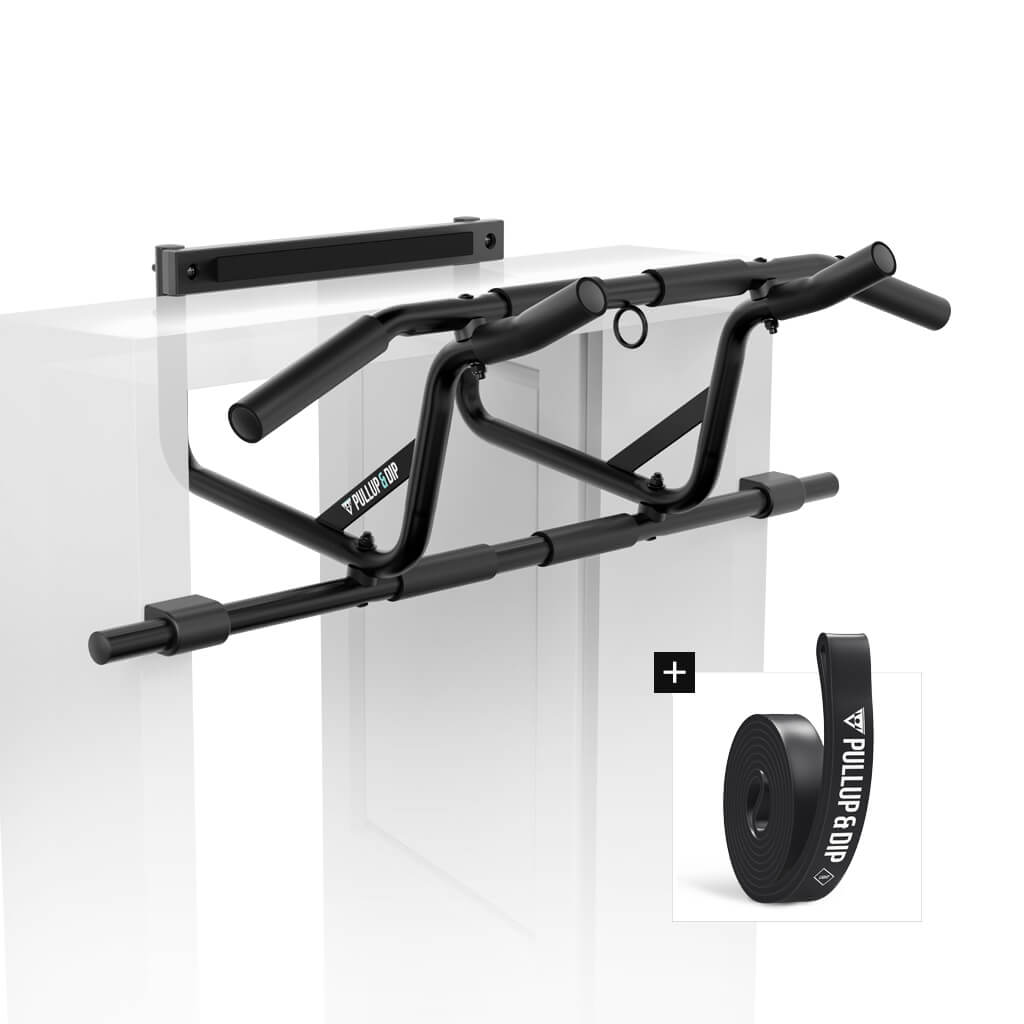
To our pull-up bars!
[product="P-00062"]
3. push-ups

Also known as "push-ups". With push-ups you mainly challenge your chest muscles. At the same time you train your shoulder muscles and your triceps very effectively with this dead weight exercise. You also work your abdominal muscles and your lower back muscles because you tense your core during the exercise. Here's how it works:
- Place your palms on the floor next to your upper body. Keep your upper arms close to your upper body.
- Now stretch your legs straight back, close together, and support yourself on your toes.
- Your entire body should form a straight line from your feet to your head, for which you must tense your body. Your upper arms are close to your torso and extended.
- Now slowly lower yourself down, keeping your body in a straight line. Keep your elbows close to your torso during the downward movement.
- You will reach the lowest point when your face is just above the floor. Now push yourself up slowly and in a controlled manner using the strength of your arms.
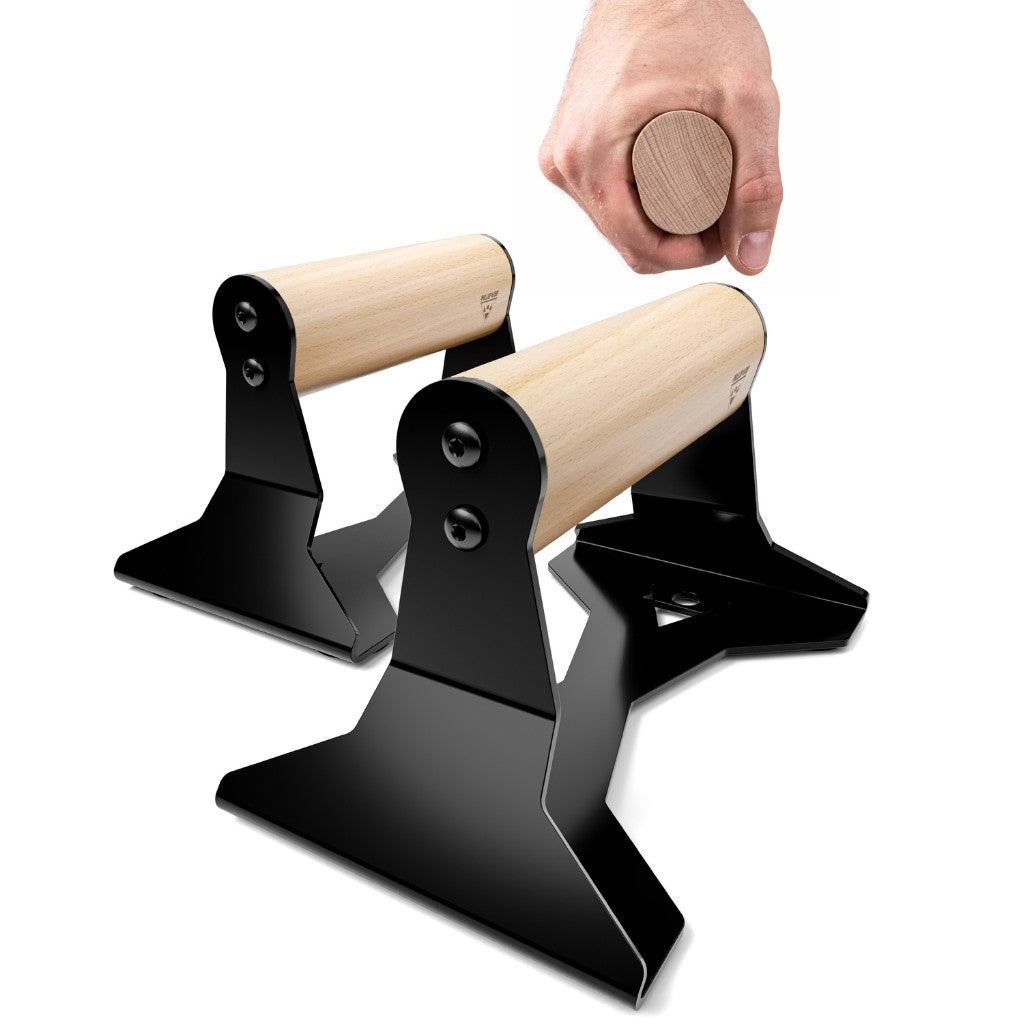
To make the exercise easier and to make your training a bit more ergonomic, you can use our Wooden Parallettes for your push-up workout. You will also find special wooden push-up grips with an ergonomic grip, which are smaller than the parallettes and therefore more suitable for training your calisthenics skills for push-ups.
4. dips

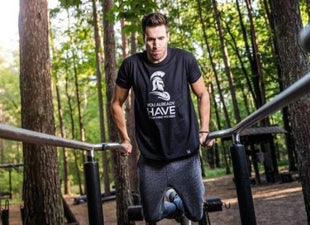
If you want to give your triceps a run for their money, dips are the exercise for you. Although the chest and shoulder muscles are also involved, the focus of this exercise is clearly on the triceps upper arm muscle. By the way, with the L-Sit you lay the foundation for dip training by developing the calisthenics skills needed for the dip. Now for the execution of the dips:
- You include wooden parallettes or support yourself with your arms on a chair. Your arms are straight through and close to your sides next to your torso.
- Now stretch your legs straight forward, close together, with your heels resting loosely on the floor.
- Now slowly lower yourself down by bending your arms. As you descend, your elbows point back and are close to your torso.
- In the lowest position, your legs are just above the floor from your feet to your buttocks, forming a straight line. At the same time, your upper and lower arms are at a 90° angle.
- From the lowest position, use the strength of your arms to push yourself back up, still keeping your elbows close to your torso.
5. leg raises

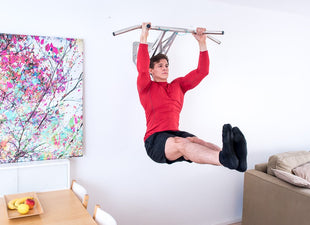
"Leg raises" - While hanging from the bar, you move your legs straight up. The focus of this exercise is to train body tension from the abdomen to the feet. Thus, the abdominal muscles, lower back muscles, pelvic and gluteal muscles, and leg muscles are the main targets of this basic exercise, which goes as follows:
- You hang from a bar in a shoulder-width grip. Your legs are close together and extended.
- Next, tense your body from your midsection to the tips of your toes. Then begin to lift your legs up as far as you can.
- At your highest point, slowly lower your legs down until you reach the starting position. Restart the exercise from here.
Advanced: 5 Calisthenics exercises for advanced users
With these 5 exercises you will move towards the Olympus of calisthenics skills! Our Advanced exercises start relatively easy with the Pike Push-Ups, but quickly increase the demands on your calisthenics skills with exercises like the Handstand and the Back Lever.
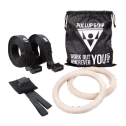
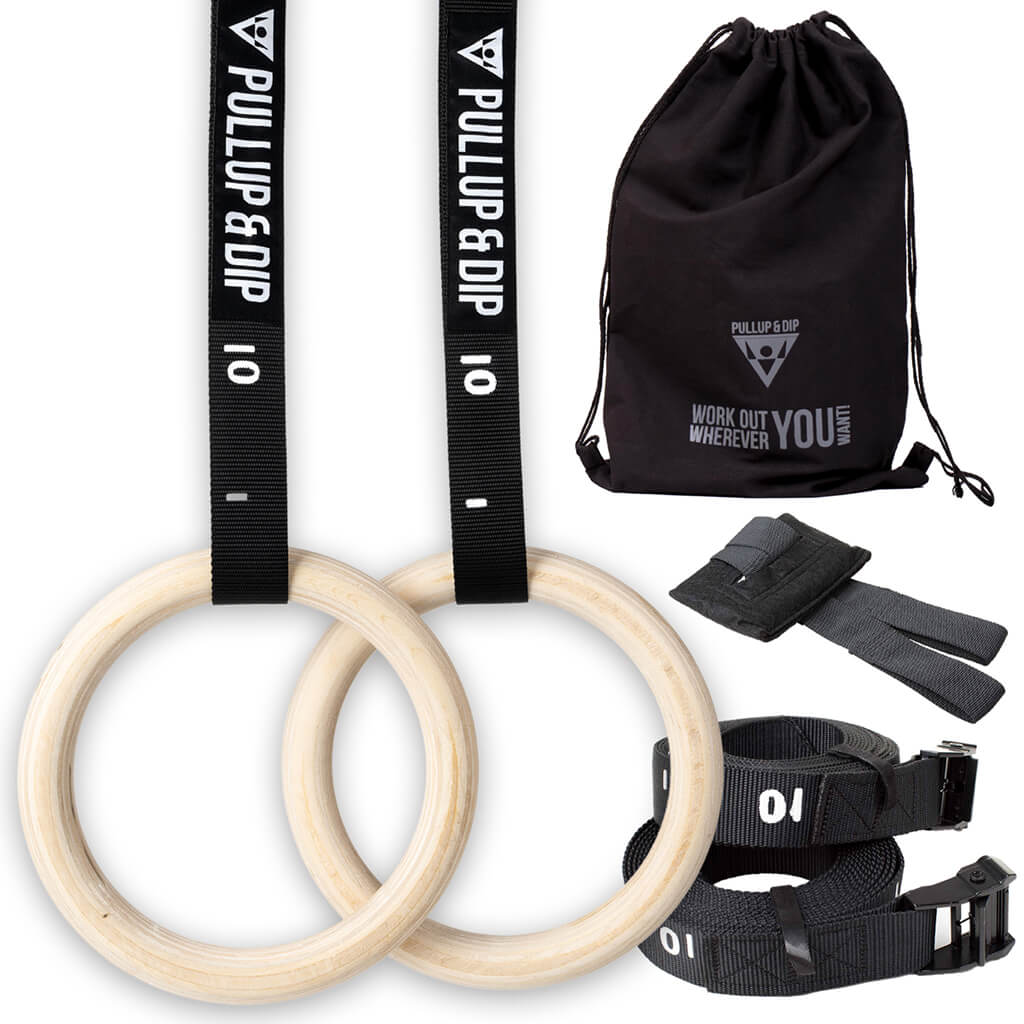
If the advanced exercises should become too easy for you at some point, you are welcome to use our wooden gymnastic rings (incl. sports bag) and perform the exercises on this equipment to increase the intensity of the exercises.
But first we recommend: Prove that you have enough calisthenics skills to do the advanced exercises properly! Then you can increase the difficulty level with additional equipment.
6 Pike Push-Ups

Die-hard athletes describe the Pike Push-Up as follows: More like a push-up and almost like a handstand. What this means is that the Pike Push -Up is somewhere in between in terms of difficulty. You mainly train your shoulder muscles and your triceps. With these instructions you will master the exercise:
- First, place your feet hip-width apart. Then bend over and place your palms slightly wider than shoulder width on the floor.
- Adjust your position so that you form a triangle with your body: With a straight line from your feet to your hips and from your hips to your hands.
- Next, move your upper body down until your head is just above the floor between your two palms. This is your final position.
- After holding the end position briefly, use the strength of your arms to push yourself back up to the starting position.
If the Pike Push-up is too easy for you in this form, then increase the intensity! To do this, you can position your feet on a chair or other elevation. Your body will no longer form a triangle in the starting position, but the principle is the same: From feet to hips a straight line, from hips to hands another straight line and then lower yourself in this way with your upper body and head and press back up.
7. handstand

Handstand is an exercise that trains the whole body because the body must be completely tense. Body tension and balance are important calisthenics skills that you can hardly practice better with any other exercise. In addition, hardly any exercise makes more of an impression than a perfectly executed handstand.
Because the optimal execution of a handstand is difficult to explain in an introduction, we have written an extensive blog post for you, with the help of which you can learn your handstand. learn handstand your handstand. Read the linked blog post in detail.
The better you have learned the basic calisthenics skills with the help of the previous six exercises, the easier it will be for you to train your handstand. Our wooden parallettes and/or a wall for support are the best equipment for advanced students to practice the handstand as quickly as possible and in a safe way.
8 Back Lever

Very demanding, but exactly the right thing for you if you have already trained your calisthenics skills diligently with pull-ups and toes to bar: With the Back Lever you train your entire body tension intensively. In addition, you demand a lot from your back, shoulder and triceps muscles as well as the muscles in your core. With this execution you succeed in the Back Lever:
- You hang yourself from a pull-up bar, as you are already familiar with from the pull-ups.
- Now tense your entire body and pull your legs, which are close together, backwards. You are doing a slow and controlled backward roll.
- Your entire body forms a straight line as you pull your legs back and move your upper body forward.
- In the final position you hang horizontally in the air - your body is a straight line.
- Hold onto the pull-up bar with your hands, pointing your arms up toward the pull-up bar. Hold this final position for a while.
9 Front Lever

While your legs went backwards during the Back Lever, they now go forwards during this exercise; this lifting movement of your legs gives the Front Lever its name. The Front Lever works the same muscles and calisthenics skills as the Back Lever, but in a different way. For example, the shoulder muscles are not as strongly challenged, but the muscles of your upper back are even more intensively challenged. This is how you become a master of the Front Lever:
- Get into the pull-up position and tense your entire body.
- Next, move your legs, close together and stretched out straight, and also your upper body slowly and controlled upwards.
- Your neck and head will move back in the opposite direction.
- During this movement your whole body, from head to feet, forms a straight line. In the final position, your body hangs horizontally in the air, looking up.
- Remain in this horizontal position for a short time and keep your body tense. Your arms point slightly upward at an angle as you grip the bar with your hands.
10. muscle-up

The Muscle-Up is a very demanding increase of the Pull-Ups. With muscle-ups you train the same muscle groups as with pull-ups, but also the triceps and shoulder muscles, because you push yourself up above the pull-up bar and do a movement similar to dips. If you've got the muscle-up down, you're sure to get recognition from just about anyone and everyone who loves sports! How to do it:
- You hang on the pull-up bar as you do for the pull-up. Important: You grip the bar with your thumbs and all other fingers on the bar.
- Now pull yourself up - basically like you did for the pull-up, but this time with a pretty quick and explosive movement.
- You need the momentum from the explosive movement to get your chest above the height of the pull-up bar. You tilt your upper body forward over the bar.
- Next, as with the dip, push up with your arms and straighten your torso. In the final position, your arms are straight through.
- Then you start your way back, maneuvering into the chin-up as controlled and slow as possible.
Because the muscle-up is so challenging, we've written a blog post for you explaining in detail how to do the learn the Muscle-Up the Muscle-Up. Feel free to check it out!
Conclusion: Expand your calisthenics skills with a varied workout for the whole body
The overview of the 10 exercises has shown that for a holistic training of all important calisthenics skills you need to consider every muscle group. Through a varied choice of your exercises and through a varied training you build up and expand all calisthenics skills evenly. As a result, with regular training, you will eventually be able to master any calisthenics exercise, no matter how difficult.
Sounds too easy to be true? Not at all. Get started today and work your way through our exercise list to train your calisthenics skills!
Are you looking for the right calisthenics accessories to complement your calisthenics workout?
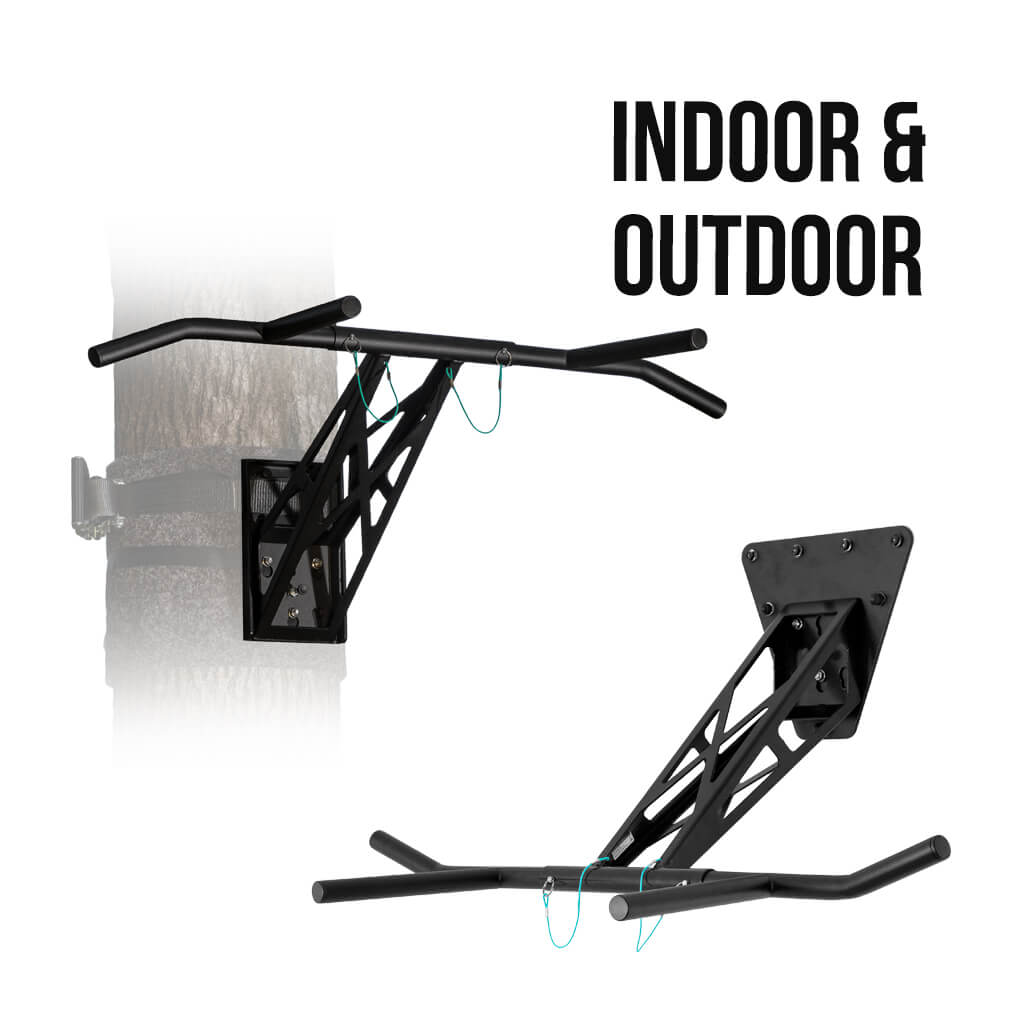
We at Pullup & Dip offer you high quality calisthenics accessories for indoor & outdoor.

Recommended Articles:
11 effective bodyweight exercises while traveling - train without gym and without weights
Pull-up bar exercises - We show you over 35 different exercises
 Other Equipment
 Gripping Aids
 Bandages
 Tapes
Tapes
 B-Stock (%)


5 comments
Pascal Berrmann
Best infosource
Best infosource
Sara
Awesome 😎
Awesome 😎
ANSH
I want to work out plan
I want to work out plan
Rock
Good
Good
ibrahim
i love this website so much
i love this website so much